How to install Oracle Linux 7
< Table of Contents | Convert a CentOS install into Oracle Linux >
In order to use Oracle Linux 7 we obviously need to install the operating system first. To burn the OS onto a DVD or Flash Drive, please see this page. Although the page is instructions for CentOS 8 the exact same applies to Oracle Linux 7.
Once you've done that, I will assume you will be competent enough to insert a DVD or Flash Drive into a computer, but most computers will probably need you to change the boot order if another OS is already installed. You'll need to look at your motherboard's manual for instructions since they're all different, but they typically involve pressing a key on bootup, navigating through a menu and changing the boot order to be either your USB or DVD drive first, hard drive second.
Certain computers may also have "Secure Boot" enabled which will need to be disabled in order to install the OS. Certain computers might not be able to disable secure boot, although typically that's only found in very low-budget notebooks and not standard desktop machines/laptops.
Downloading ISO
Downloading the ISO requires an Oracle account.
- Go to the Oracle Software Delivery Cloud.
- Sign in with your Oracle account.
- Choose Release from the select list.
- Select "Oracle Linux".
- Pick your version.
Afterwards
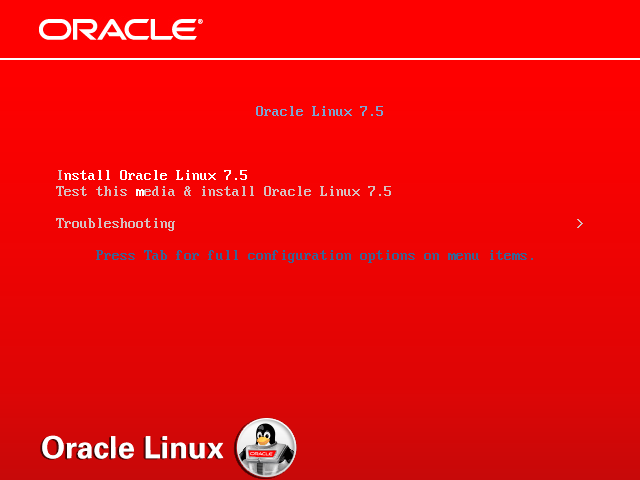
When you first boot into Oracle Linux 7, you'll be greeted this screen.
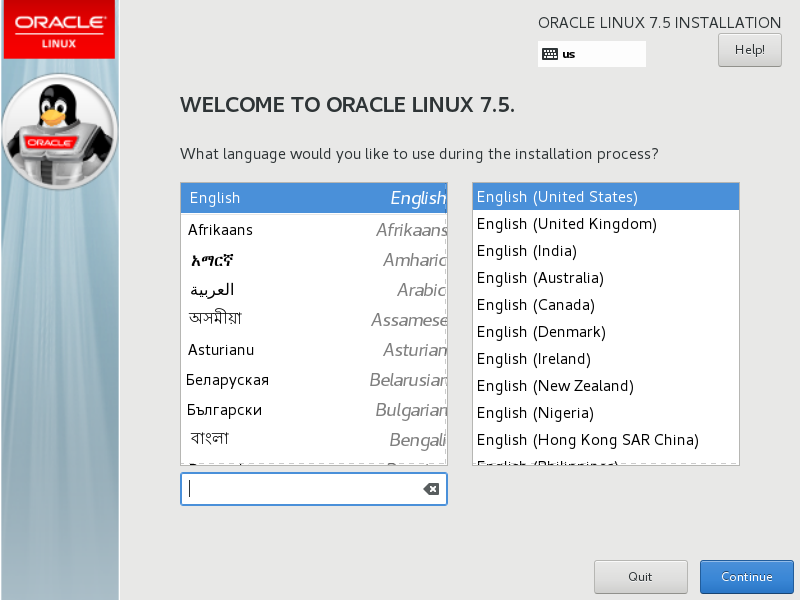
This is a typical install screen you will see, and it comes with a few options - you could either test the media and make sure its correct and install Oracle Linux, just install Oracle Linux, or use troubleshooting tools. I recommend just installing it once you really want to be thorough. After a few seconds the installation screen will appear.
Here is where you will select the language for the system. The language you select here will also be the default System language if you don't change the "Language Support" setting in the next step.
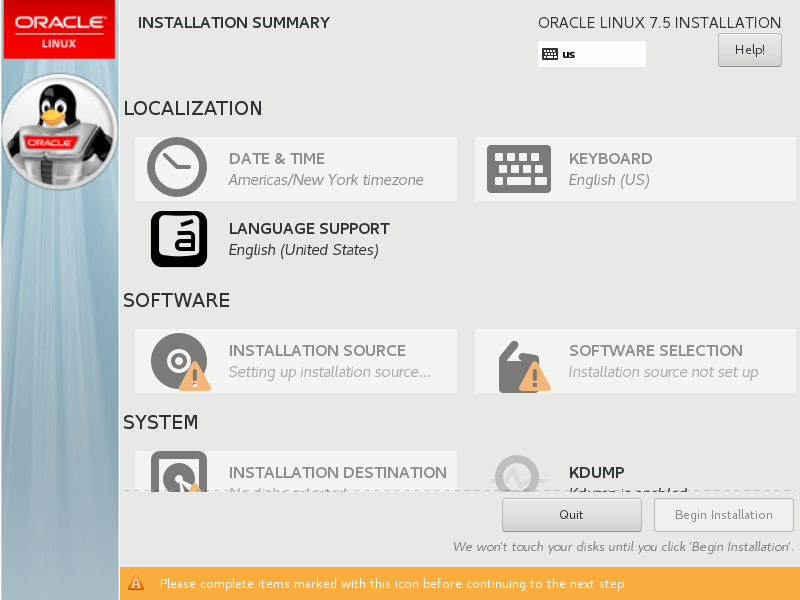
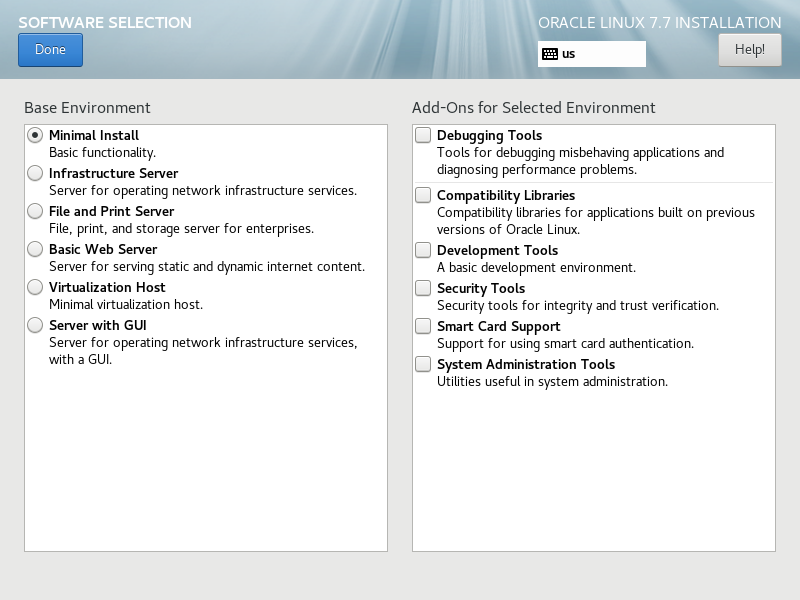
Here is the screen where you can customize the install before it begins. You can configure some settings here - keyboard layouts, root password, software selection, etc. Here's an example of the Software Selection screen:
As you can see, you have many options - you can do a minimal install, a server install, etc. You can choose to install the GNOME Desktop Environment or use cli only - it's up to you.
Finally when you're ready to start, hit "Begin Installation". You will begin the installation.
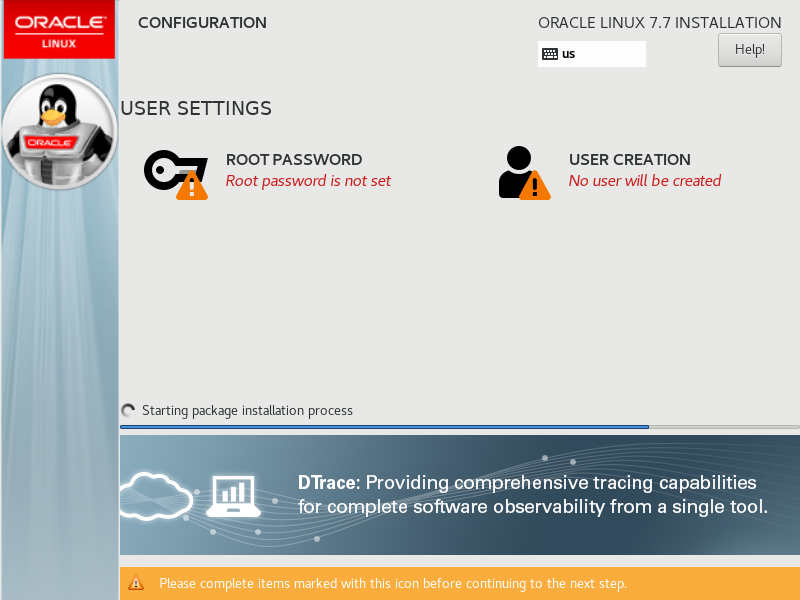
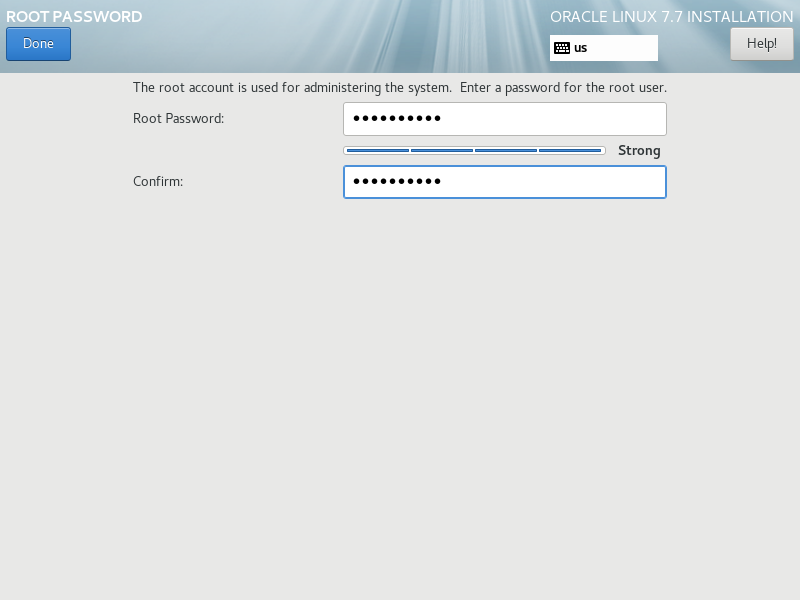
From here, we can set the root password and create a user account, which we will do. Like before just click on "root password" and type in a password. Make sure it reaches the complexity requirements.
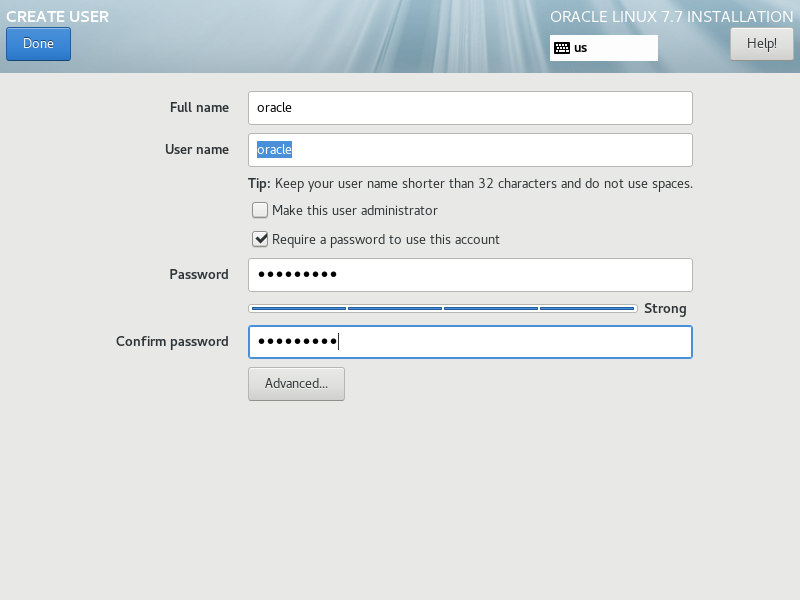
We create a user much in the same way:
Now we wait for the installation to finish. It might take a while depending on the speed of your connection, computer, etc.
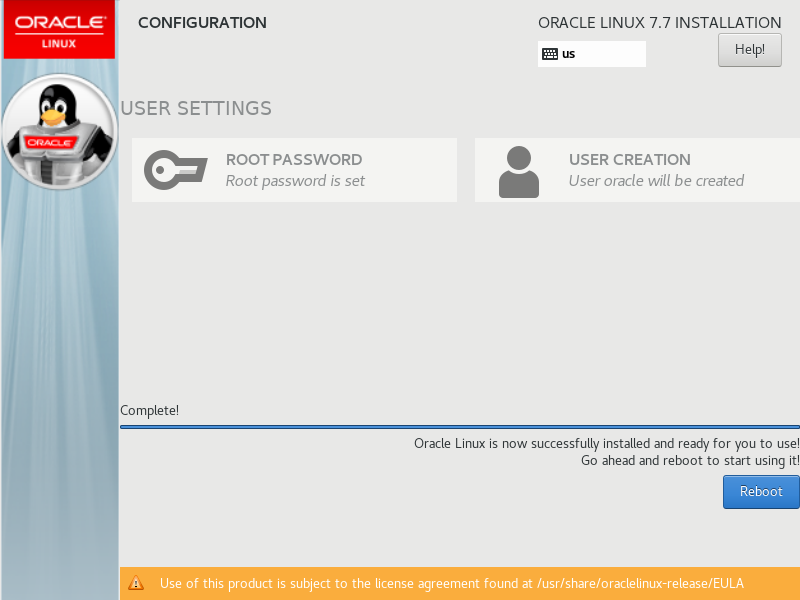
Once its done, we're ready to go. Click "Reboot" and the machine will restart automatically. You will either boot into the GNOME Desktop login screen, or into a terminal with the following:
Oracle Linux Sever 7.7
Kernel 3.10.0-1062.18.1.el7.x86_64 on an x86_64

localhost login:
Type in the username/password we set during the login, and that's it - we installed Oracle Linux 7! Yay. Now onto the fun part - configuring the server. See you in the next guide.
< Table of Contents | Convert a CentOS install into Oracle Linux >
