Getting Started with OpenSolaris/Installing OpenSolaris
< Setting Up VirtualBox | Exploring the OS >
Click "Start" to start up the VM. It should automatically boot the CD image.
Main Installation
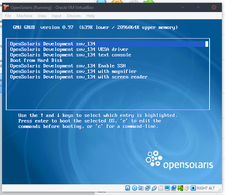
The VM should boot to GRUB, unless you have a specific need for the other options, simply press enter to select the default. You will be asked for your preferred keyboard layout, the default is "46. US-English", so if that is correct for so simply press enter again, otherwise, enter the correct code. Next, it will ask for your preferred language, again, default is "7. English". The VM will then proceed into the live environment.
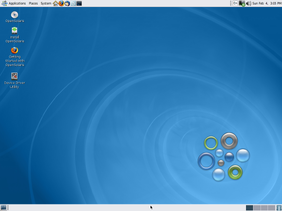
Once on the desktop, open the OpenSolaris Installer, by double-clicking the icon on the desktop. You can, if you wish, read the release notes. Click "Next", you'll be presented with a basic partitioning screen. The default (A ZFS partition taking up the whole drive) is fine, so click "Next". After that is time zone, and then locale options, pretty self explanatory. The next screen asks for a username and password, as well as a hostname (which can be left default). At this point, the installer will confirm that you selected the correct options, review these and ensure these are correct. Note that by default, GNOME 2 is used as the default desktop environment, this is different to old Solaris releases, where either CDE or GNONE could be used as the default. If this is all correct, click "Install".
This will take a while, so watch the installer for a while, or just leave it in the background. Once it is finished, simply click "Reboot".
Guest Additions
In order to make the virtualisation experience better, most VM software has tools to allow better communication with the host, allowing smoother mouse control, and dynamic resolutions. In VirtualBox's case, this is called "Guest Additions", unlike other Virtualisation packages, VirtualBox Guest Additions includes support for Solaris and its derivatives. To install GAs, firstly login with the username and password set previously. Then:
- In VirtualBox, click "Devices > Insert Guest Additions CD Image"
- If you need to download it, allow it to automatically.
- If you have an error, ensure the Live CD is ejected by going to "Devices > Optical Drives > Remove disc from Optical Drive". You may need to right-click the CD on the desktop, and click "Unmount" first.
- You should get a popup concerning autorun, press "Run".
- This will automagically install the Guest Additions.
- Press
Enter, and then reboot the system. (and eject the virtual disc)- Reboot by going to "System > Shut Down... > Restart" in the Panel.
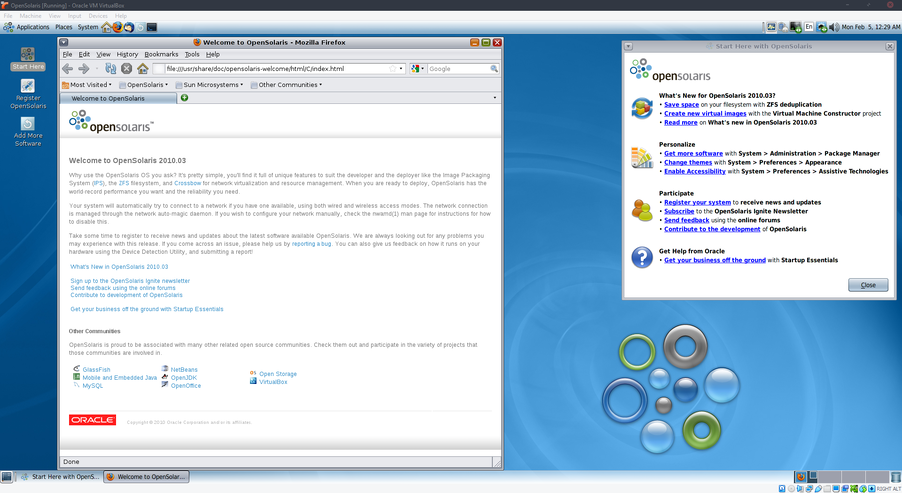
And once you've rebooted, that's it! Installation complete. You may notice that the latest preview build contains branding of "OpenSolaris 2010.03", this was meant to be the next stable release of OpenSolaris, but it never came to fruition. You may also notice the Oracle branding.
