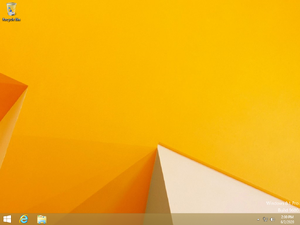
How to install Windows 8 in QEMU

Windows 8, known in latest versions as Windows 8.1, was released in 2012 by Microsoft as the successor to Windows 7. Support ended on January 9th, 2023.
Running on CollabVM
Windows 8.1 works pretty well. VM 4 used to run Windows 8.1, but was replaced with Mac OS, then replaced with Windows 98
However, Windows 8/8.1 is very slow without virtualization, so if you don't have root/KVM/Xen, speeds will not be optimal.
Starting up
QEMU
Pre-installation
Make a qcow2 image (or a raw image if you want) by typing
qemu-img create -f qcow2 win81.img 40G
Windows 8 requires some disk space, you can make this 20 gigabytes if you want but it is recommended to have at least 40 GB for users to install programs onto.
When that's done, run the following command:
qemu-system-x86_64 -hda win81.img -cdrom win81_iso_name.iso -boot d -accel kvm -cpu host -m 4G -vga std -net nic,model=e1000 -net user -usbdevice tablet -rtc base=localtime
Or if running without root or virtualization:
qemu-system-x86_64 -hda win81.img -cdrom win81_iso_name.iso -boot d -cpu qemu64 -m 4G -vga std -net nic,model=e1000 -net user -usbdevice tablet -rtc base=localtime
4 gigabytes of memory is highly recommended for optimal performance, but like Windows 7 the 32-bit version can run on 512 MB of RAM (that's not recommended if you want to run programs, though.) The absolute minimum is 1 GB.
You'll also want to uninstall unnecessary applications and disable Windows Defender. This is because Windows Defender takes up large amounts of CPU on QEMU which makes the VM very slow.
After installation
qemu-system-x86_64 -hda win81.img -boot c -accel kvm -cpu host -m 4G -vga std -net nic,model=e1000 -net user -usbdevice tablet -rtc base=localtime
Or if running without root or virtualization:
qemu-system-x86_64 -hda win81.img -boot c -cpu qemu64 -m 4G -vga std -net nic,model=e1000 -net user -usbdevice tablet -rtc base=localtime
Setting up your VM
After going through the OOBE, it is recommended to go through gpedit.msc and manage some policies. If you have an AD (Active Directory) server, you can hook up your VM to that and manage policies there. If you want, you can also "debloat" the OS making it run slightly faster.