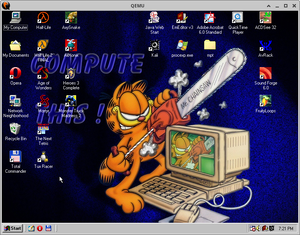
How to install Windows 98 in QEMU

This page details how to install Windows 98 in QEMU. Windows 98 is an operating system created by Microsoft released in June 1998. There is an updated version dubbed Windows 98 Second Edition, which fixes some bugs and adds new features. Support ended in July 2006.
Notes
After installing, follow this guide to have smooth mouse movement.
Starting up
QEMU
Pre-installation
This guide recommends you to use the Windows 98 QuickInstall Project. (example built ISOs are available here at archive.org). Download either win98qi_v0.9.3_ALL.iso, if you want to have 98lite variants alongside stock 98SE or just download win98qi_v0.9.3_stock.iso for only stock 98SE. The ISO comes with utilities inside for you to install if needed.
Make a qcow2 image (or a raw image if you want) by typing
qemu-img create -f qcow2 win98.img 4G
4G can be replaced with however big you want the hard drive to be (with G standing for Gigabytes). Windows 98 is a very old OS and does not take up a lot of space.
When that's done, run the following command:
qemu-system-i386 -hda win98.img -cdrom win98_iso_name.iso -cpu host -accel kvm -M pc-i440fx-2.0,hpet=off -net nic,model=pcnet -net user -localtime
The machine argument is set to pc-i440fx-2.0, this is to get around the PCI Bus bug that persists within QEMU.
We set the memory to 128 MB, but it can run on as low as 8 MB of RAM, although this isn't recommended if you want to be running any programs.
Upon booting the ISO of your choice, if you are using the win98qi_v0.9.3_ALL iso image, then select whichever variant of 98 (or ME) would you like to install and then proceed to format a single FAT32 partition taking up all of available space and mark it as bootable, make sure to write changes to the disk and exit. Once prompted to install integrated device drivers, select Yes and continue. By any circumstances do NOT select slow PnP detection as this will hinder the installation process, let it install and reboot.
Once you make it to the Desktop, Open System Properties and head to the Device Manager, Open the Disk Drives selection and open the properties of the "QEMU HAR DDISK" drive and enable DMA on the Settings tab, after this let it restart and you're good to go.